A wireless sensor network using Moteino boards
Over the past few months I've been experimenting with the Netduino and Arduino as ways to expand the inputs on my home automation system without running more wires off to various corners of the house. An Arduino with Ethernet can have a group of local sensors attached to it which it can process and then POST the sensor values to a REST API on the main home automation computer. The Arduino is, itself, quite remarkable both for the number of inputs it has and for its relatively low cost.
I should also mention the Netduino. I started out with a few of those, hoping that I could keep the whole system in C#. But, sadly my experience was not great as they would simply hang when performing web requests back to the home automation computer. Reluctantly I switched to Arduino and since then all my effort have been on the Arduino platform. Of course, I immediately hit every possible combination of buffer overrun, bad pointer arithmetic, ... and other problems you get from writing in a language with no safety checks, but my C++ skills gradually returned. I was delighted to find the `String` class but immediately abandoned it when I realized how critical memory usage was and how much everyone on the Arduino forums hated it.
The Arduino worked great, I have a few with Ethernet shields on them but switched quickly to the Arduino Ethernet which has Ethernet built right in. Sadly it does not have the low-profile ethernet jack that the Netduino has so you need to use extra long stacking headers or a second layer in order to avoid physical collisions.
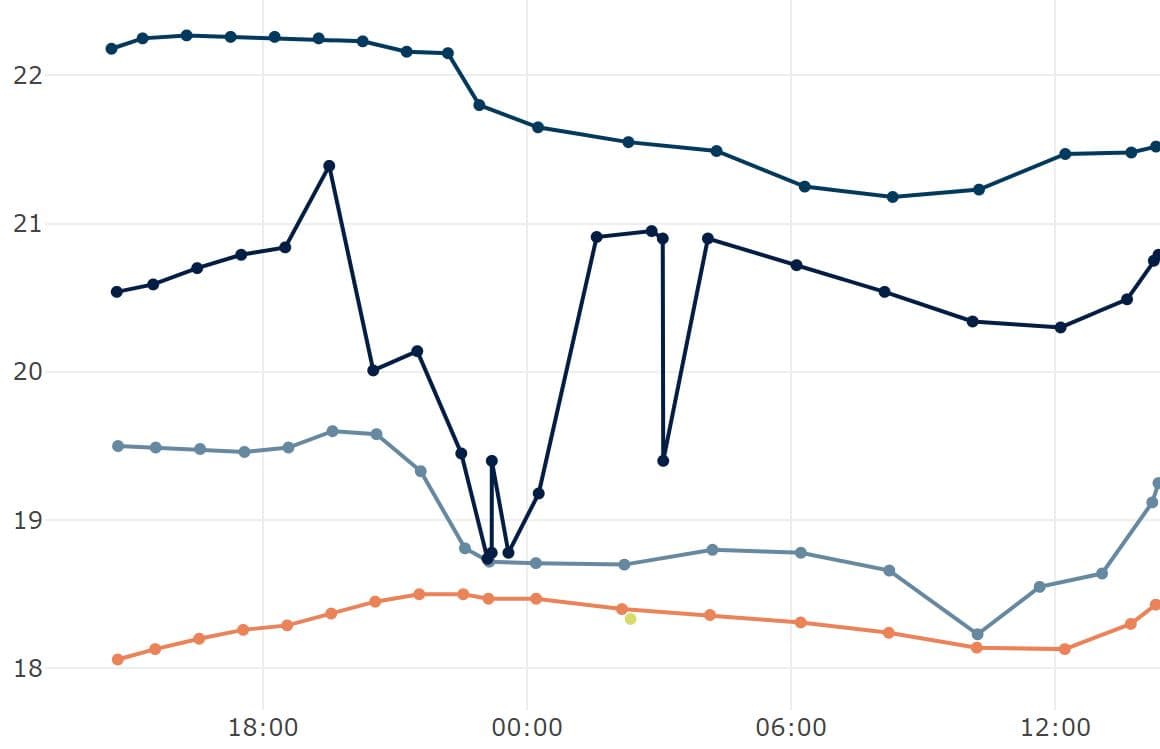
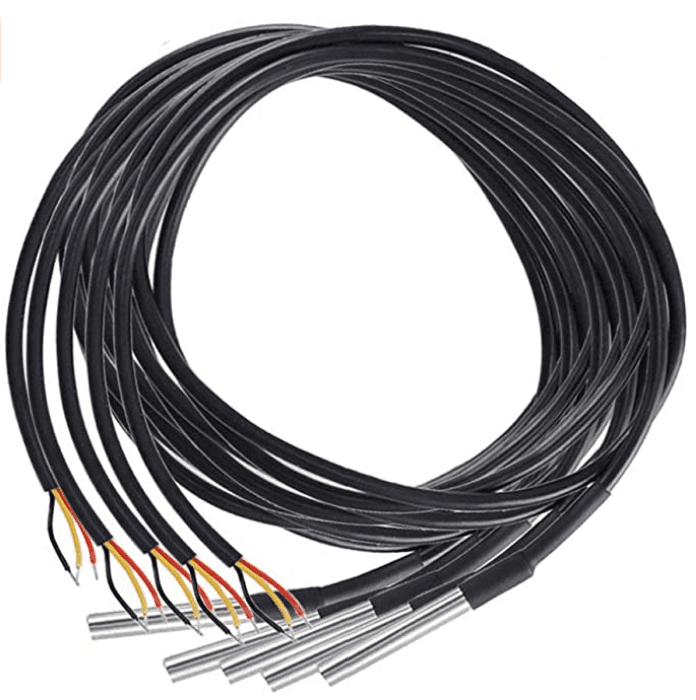
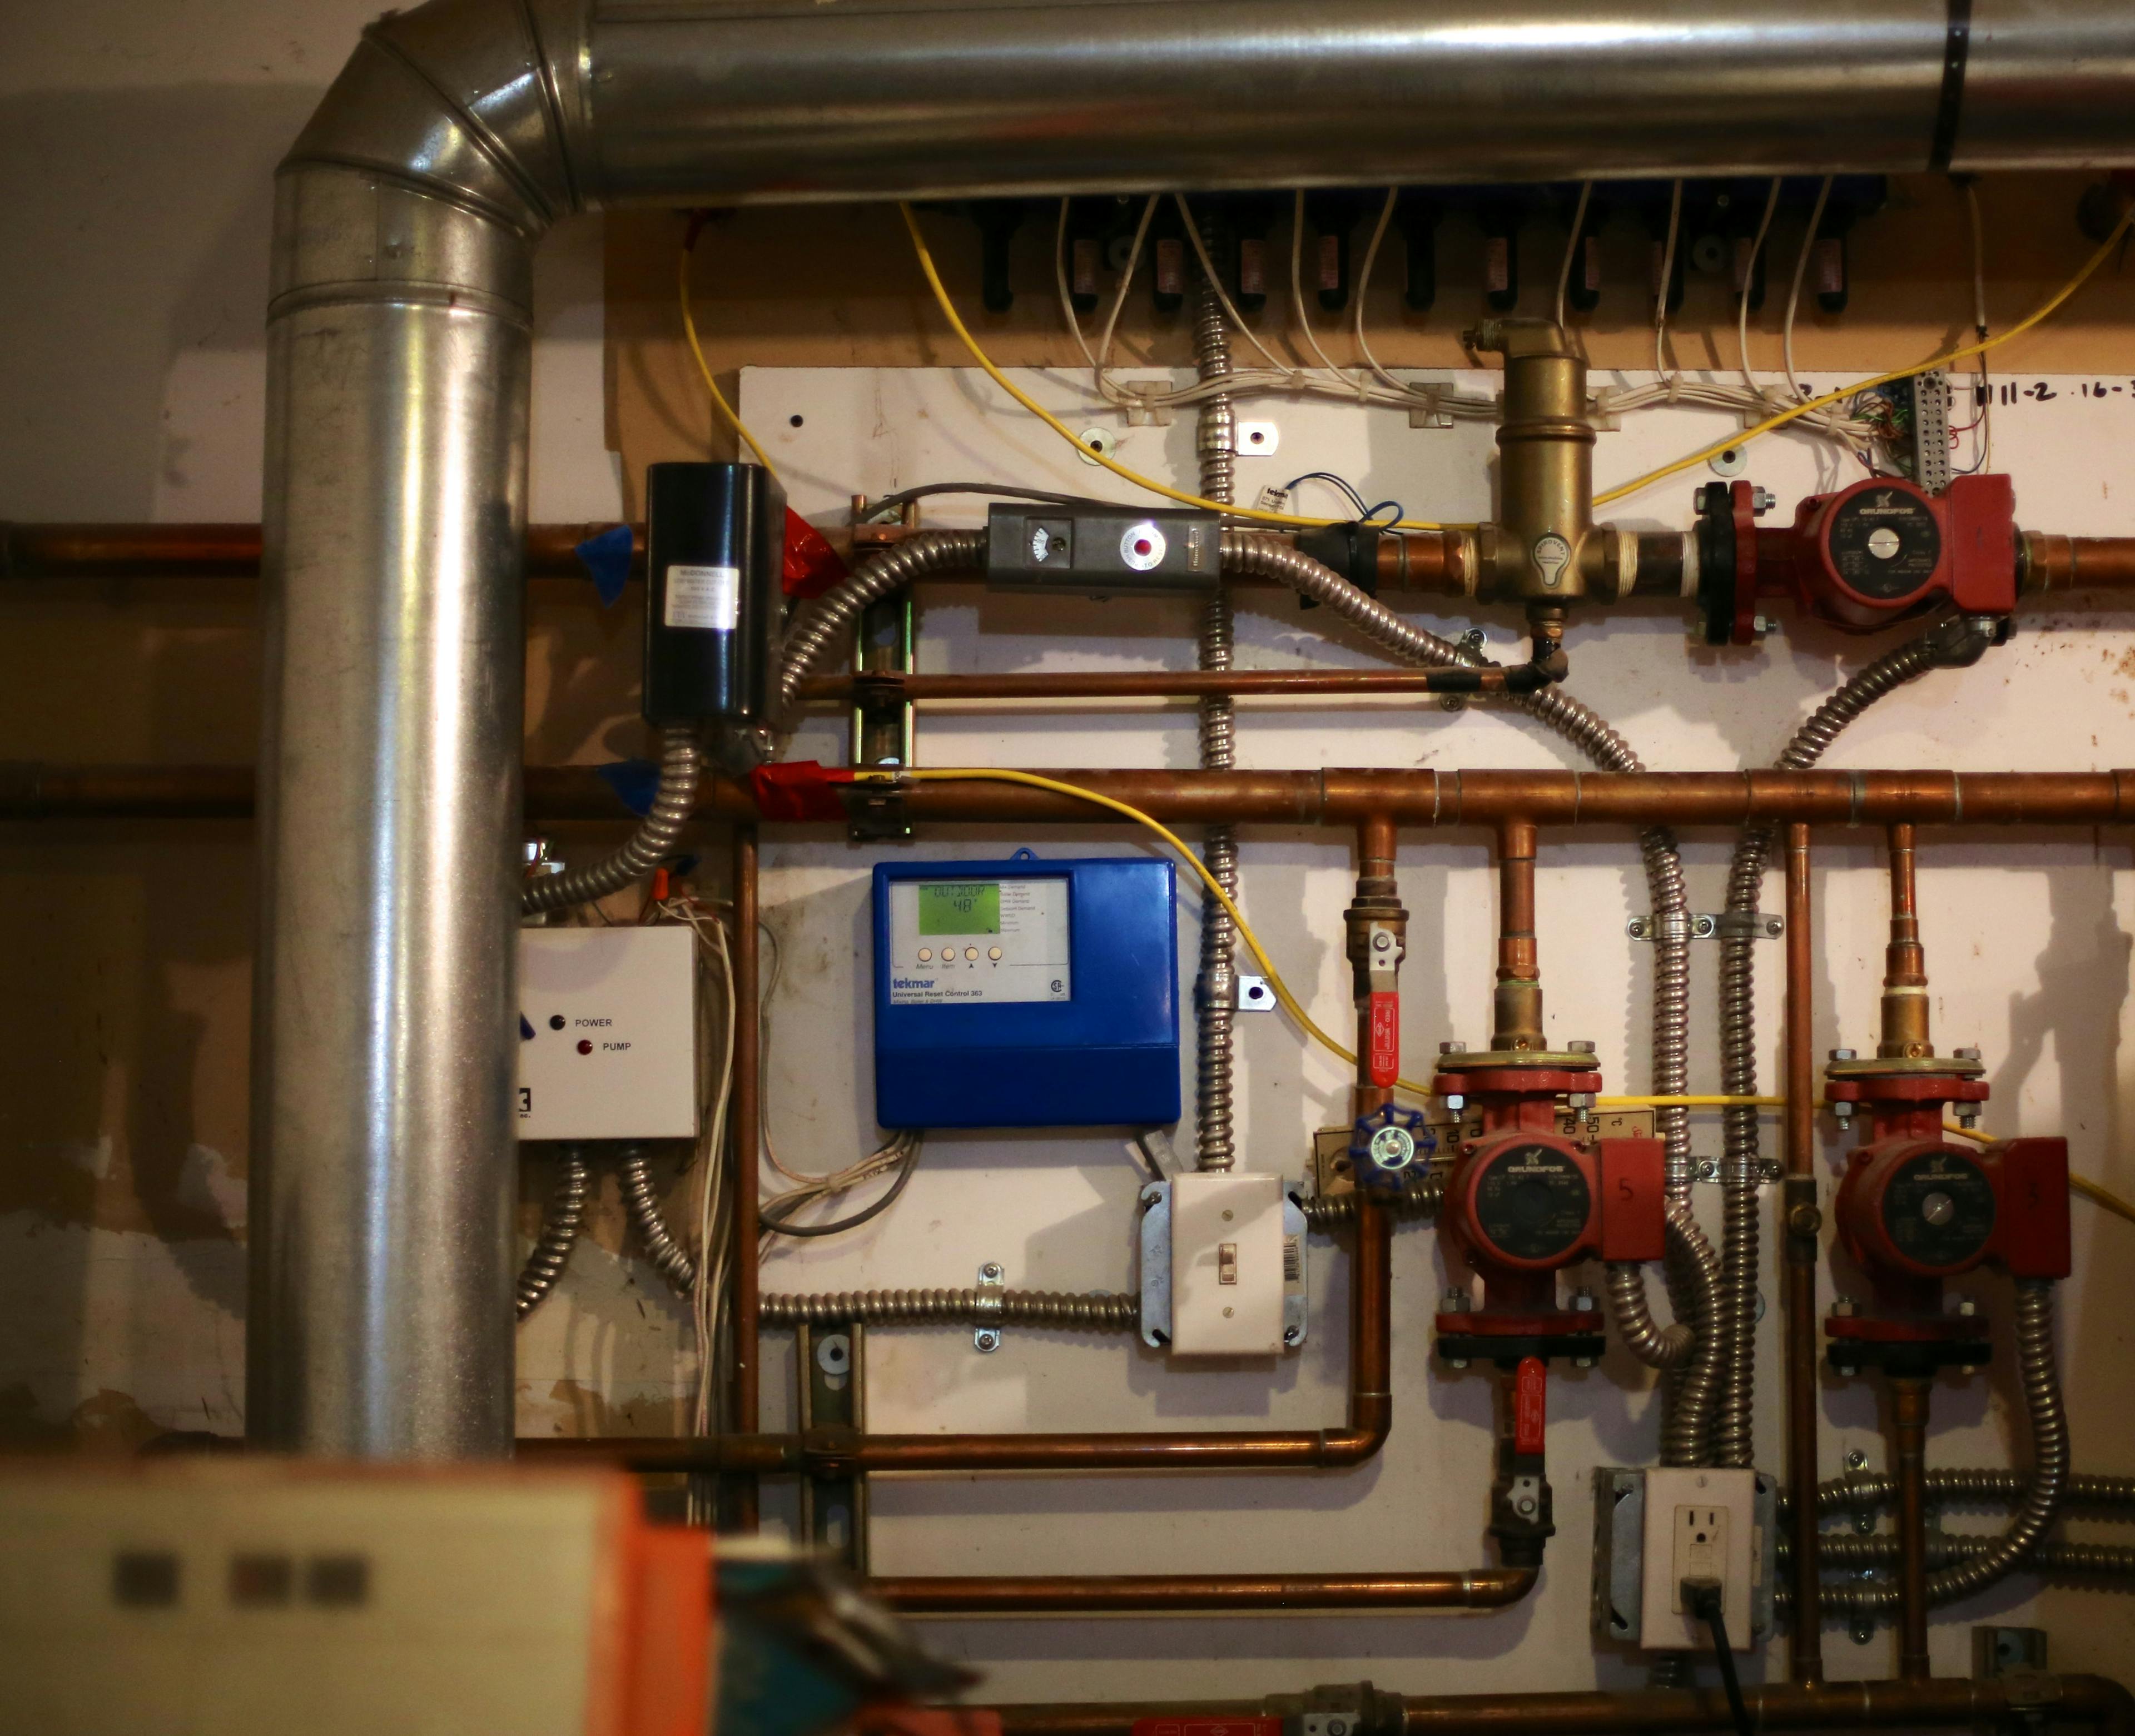
One Arduino now handles all 1-Wire inputs from the boiler and radiant floor monitoring system, another handles the solar sensor and an external temperature sensor. They run quite reliably, posting updates at regular intervals.
One idea I developed for this was an API where after posting a new value the server responds with three values: Resolution, Minimum Interval and Maximum Interval. The Arduino then adjusts how it sends future updates to respect these new values. This allows the sensor configuration to be changed on the server without deploying new code to the devices. The Resolution and Minimum Interval values throttle the amount of data that is being sent (e.g. 0.5 degree resolution, no more than once a minute) whilst the Maximum Interval is used to make sure every Arduino is still alive even if the sensor isn't changing value. A fairly simple API but it works well.
public class SensorResponse
{
	/// <summary>
	/// Sequence number - increments each time a value is added
	/// </summary>
	public long sequence { get; set; }

	/// <summary>
	/// Minimum interval between calls (seconds)
	/// </summary>
	public double min { get; set; }

	/// <summary>
	/// Max interval between calls (seconds)
	/// </summary>
	public double max { get; set; }

	/// <summary>
	/// Minimum change between calls
	/// </summary> public
	double resolution { get; set; }
}
Sensor values are stored using VariableWithHistory that I blogged about previously.
This all works well, but I wanted even higher reliability so I set about building a hardware watchdog shield using a 74HC4060 chip and instructions you can find online. This works as follows: within the main loop you need to trigger a given digital output once every few seconds, if you don't (because the code has hung) then the reset line is brought low automatically and the Arduino reboots. The only snag is that a larger sketch may take too long to upload, so simply disconnect the watchdog shield during development and connect it when it's time to deploy. I also decided that I wanted a PCB version of this watchdog board so I contracted someone on ODesk to design one for me and it's now off being manufactured. I added a prototyping area to the board and the necessary connector and resistor for a 1-Wire connection. I have a small initial run coming and if there's interest I may produce more for sale.
But then my Spark Core devices arrived. These have Wifi on board and an Arduino compatible programming language. The IDE however runs in the cloud and you have a web interface to program them. It took a full evening to get them to work correctly, most of the instructions I followed simply did not work and left the cores flashing one of their many color combinations that mean "not working". Eventually I connected using Putty and was able to enter my network SSID and passphrase and got them online. But the problems continued - failures to connect to the devices, somewhat annoying UI where the currently selected Core isn't shown on the main IDE page so it's easy to push to the wrong core. But the final nail in their coffin was a bug whereby long running HTTP requests simply hang the device (known issue, they are working on it). I haven't given up on them totally, but for now they are just a toy and aren't going to be playing any part in the home automation system.
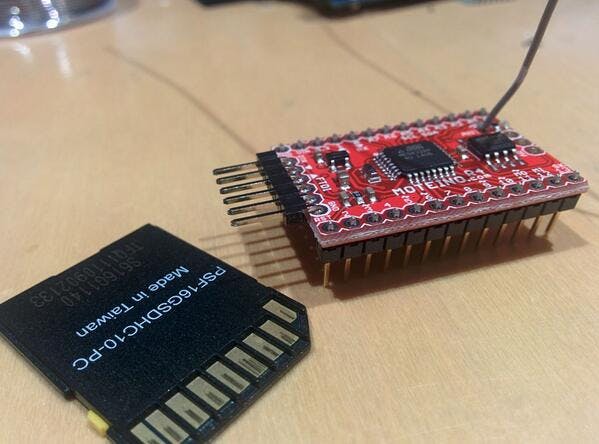
And then I discovered what may be the best device yet for wireless home automation: The Moteino. This is an Arduino Uno clone but much smaller, with the option for an on-board 433Mhz radio. I ordered some with the RFM69, high powered option and the flash memory chip which brings the price up to $24.95. That's still a lot cheaper than an Arduino Ethernet or an Arduino Uno with an Ethernet shield. Unlike the WIFI option of the Spark, which has a fairly poor range when using the onboard antenna, this thing, with a small whip antenna (actually just a piece of wire about 6" long), can reach from one end of our house to the other.
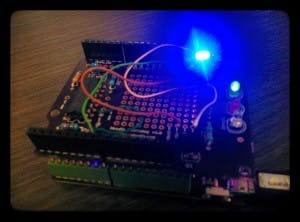
After soldering on the antenna it took just a few minutes to download my first send/receive program and they were soon flashing LEDs happily to each other across the room in perfect sync.
I created a quick 'Sender' based on the samples provided. I post sensor data as JSON but create the JSON using sprintf because a full JSON library isn't realistic for these small devices. But now, instead of posting the data directly to my server it sends it out over the 433Mhz radio to be received by a gateway device that I built. One trick I used to allocate unique device numbers was to use the unique serial number in the Flash chip to create the radio ID number. Of course there's no guarantee that two won't collide but the odds are fairly good (for now) and if I do find a collision I'll adjust the XOR calculation to find one that doesn't create collisions with the devices I have.
nodeId = 27;
flash.readUniqueId();
for (byte i=0;i<8;i++)
{
	nodeId \^= flash.UNIQUEID[i];
}
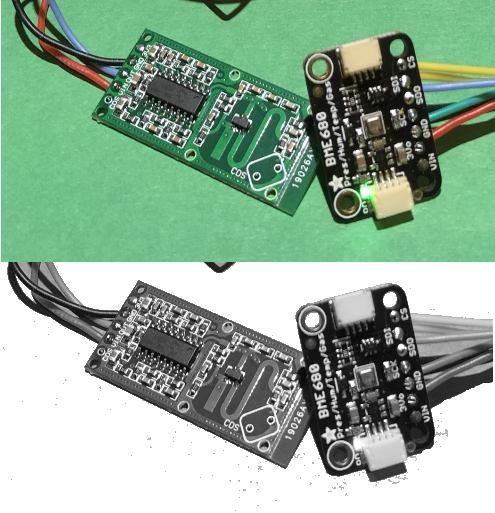
The gateway device consists of a RFM69HW module coupled to an Arduino Ethernet. I was going to order an adapter board that could handle the small spacing on the RFM69W module but couldn't wait for it so I ran solid core wires from each pad down to an Arduino prototyping shield and left the radio module floating above the board suspended by the wires. The only other tricky piece here was that the Ethernet and the radio need to share the Serial Peripheral Interface (SSI). I had to move the Slave Select (SS) from the RFM69W's normal connection pin (D10) to a different pin and set that new pin in code. There's also the need for a level-converter (not shown in this image).
radio.setCS(9); // Change SS pin if necessary (conflicts with Ethernet)
Other than that the gateway code was very simple, it receives a message from a numbered device and posts the message to the home automation server along with the device number and the received signal strength.
	[HttpPost]
	[Route("api/moteino/{uid}/{rssi}")]
	public string MoteinoGateway(int uid, int rssi, MoteinoStatus status) ...
I plan to locate the Gateway device in the attic so it has excellent coverage of the whole house and beyond ...
Since the range on these is so good I may try adding some sending nodes to our cars. I might even put some extra gateway devices around the place so I can triangulate on signal strength, maybe even put one at the barn and one at work so the house knows exactly when I arrive at each location. And since the device will be mobile it can also begin to collect information as I drive about. Now the house can be aware of where each car is, how much time I spend driving each day, how long it took me to get to work and home, ... and many more, potentially interesting things. As always, I don't know exactly what I'm going to use all this data for but sometimes interesting scenarios just happen!
